Our top-tier consultancy services provide strategic guidance to elevate your entire digital presence.
Learn More
Contents
Making The Digital Move
Website migration is the process of transferring a website from one hosting provider or server to another. This can be done for various reasons, including upgrading to a better hosting plan or provider, changing website platforms, or simply moving to a new server with better performance or security features.
Website migration can be a complex process involving the transfer of website files, databases, domain name registration, DNS configuration, and other website settings. The process requires careful planning and execution to ensure the website remains fully functional and accessible throughout the migration process.
Website migration can be time-consuming and challenging, especially for larger or more complex websites. However, with careful planning, preparation, and execution, website owners can successfully migrate their website to a new hosting provider or server while minimising downtime and maintaining the integrity of their website data.

Understanding Wordpress File Structure
WordPress is a free, open-source content management system (CMS) built using PHP’s programming language and uses a MySQL database to store website content. WordPress is highly customizable and supports a wide range of themes and plugins that allow users to create websites with a template or custom-made designs. Typically, WordPress is installed in the root directory of a website. The core files are located in the wp-admin, wp-content, and wp-includes directories. Let’s take a closer look at each of these directories:
-
-
wp-admin directory:
-
This directory contains the files that make up the WordPress administrative interface. These files control the functionality and appearance of the WordPress dashboard and the administrative panels that allow users to manage their website content.
-
-
wp-content directory:
-
This directory contains user-generated content such as themes, plugins, and uploaded media files. WordPress stores all user-generated content in this directory to separate it from the core WordPress files.
-
- wp-content/themes: This subdirectory contains the themes used to control the look and feel of a WordPress site.
- wp-content/plugins: This subdirectory contains the plugins that extend WordPress’ functionality.
- wp-content/uploads: This subdirectory stores all uploaded media files, such as images and videos.
-
wp-includes directory:
This directory contains the core WordPress files, including the PHP files that provide the foundation for WordPress functionality. The files in this directory control how WordPress interacts with the server, the database, and other website components.
In addition to these core directories, the WordPress file structure includes several other files and directories essential to the functioning of WordPress, such as the wp-config.php file, the .htaccess file, and the index.php file.

Understanding cPanel
cPanel is a web hosting control panel that provides website owners with a user-friendly graphical interface to manage their web hosting services. With cPanel, you can manage various aspects of the website, such as domain names, email accounts, website files, databases, security settings, and more. It provides a range of tools and features that allow users to easily configure and manage their websites without requiring extensive technical knowledge.
- File management: Allows you to upload, download, and manage website’s files using a built-in file manager or FTP client.
- Email management: Allows you to manage email accounts, forwarders, spam filters, and other email-related settings.
- Domain management: Allows you to manage domain names, subdomains, and DNS settings.
- Database management: Allows you to manage databases, such as MySQL or PostgreSQL, and to create and manage database users and permissions.
- Security settings: Allows you to configure security settings, such as SSL certificates, firewalls, and password policies.
- Application installation: Allows you to install and manage popular web applications, such as WordPress, Joomla, and Drupal.
Website Migrations Steps
Backing Up
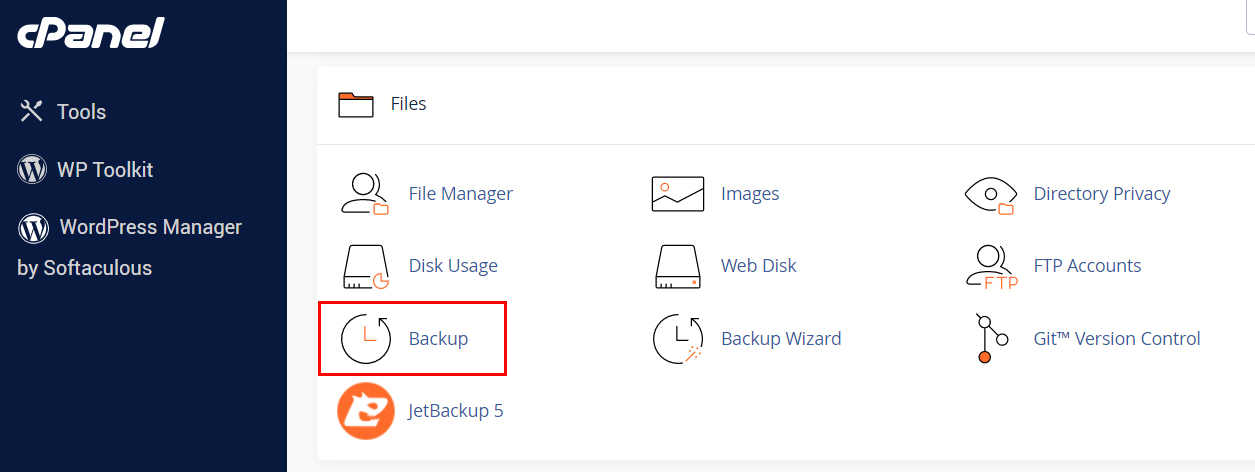
It is important to create a backup of all your website files before migrating your site. You can do this by logging in to your current cPanel account and navigating to the Backup option.
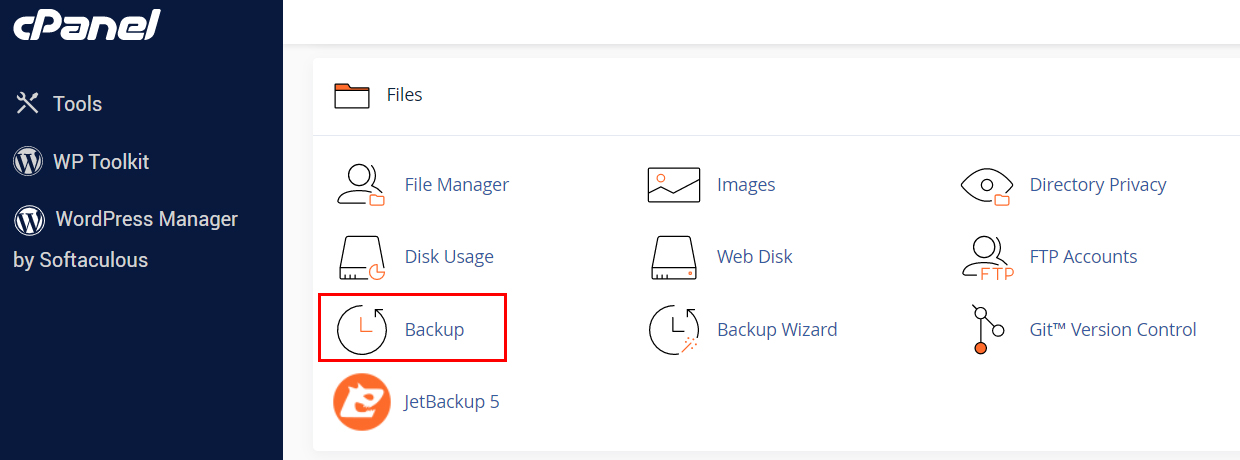
From there, you will need to download the Home Directory Backup by clicking on the Home Directory button under the “Download a Home Directory Backup” section.

Next, click on the Database Name under the “Download a MySQL Database Backup” section to download the database file.

Finally, to complete the backup, download the Email Forwarders by clicking on the domain name under the “Download Email Forwarders” section.

Preparing
There are a few things to do before you can start transferring the backup to the new server.
- Add Domain. To add a domain in your new cPanel account, follow these steps:
- Login to your new cPanel account and go to Domains

- Click on Create a New Domain button

- Insert the Domain name

- Tick the option “Share document root” to set up the main website in the cPanel. Untick the option if you are setting up additional or subdomain sites in the cPanel.
- If you are setting up additional or subdomain sites, insert the subdomain name.
- Click on Submit.
- Login to your new cPanel account and go to Domains
- Extract the Home Directory Backup
- To extract the file, you can use 3rd party software like WinZip and 7Zip. You also can use the command line interface (CLI) by entering the below command.
tar -xvzf “[path to your backup file]” -C “[path to the destination/output folder]“ - We will use the extracted file in the next step of this process.
- To extract the file, you can use 3rd party software like WinZip and 7Zip. You also can use the command line interface (CLI) by entering the below command.
Transferring
- Home Directory
Once you have extracted the backup files, you can start to transfer them to the new server. You can do this by using an FTP client, such as FileZilla.
- Transfer the files in public_html into the main folder in the new cPanel (e.g. “/home/kodedigi/public_html/newsite/”).
- In the folder Mail, transfer the folder with the domain name (e.g. “/home/kodedigi/mail/kodedigital.expert”) into the mail folder in the new cPanel.
- In the folder etc., transfer the folder with the domain name (e.g. “/home/kodedigi/etc/kodedigital.expert” in to the etc. folder in the new cPanel.
- Database
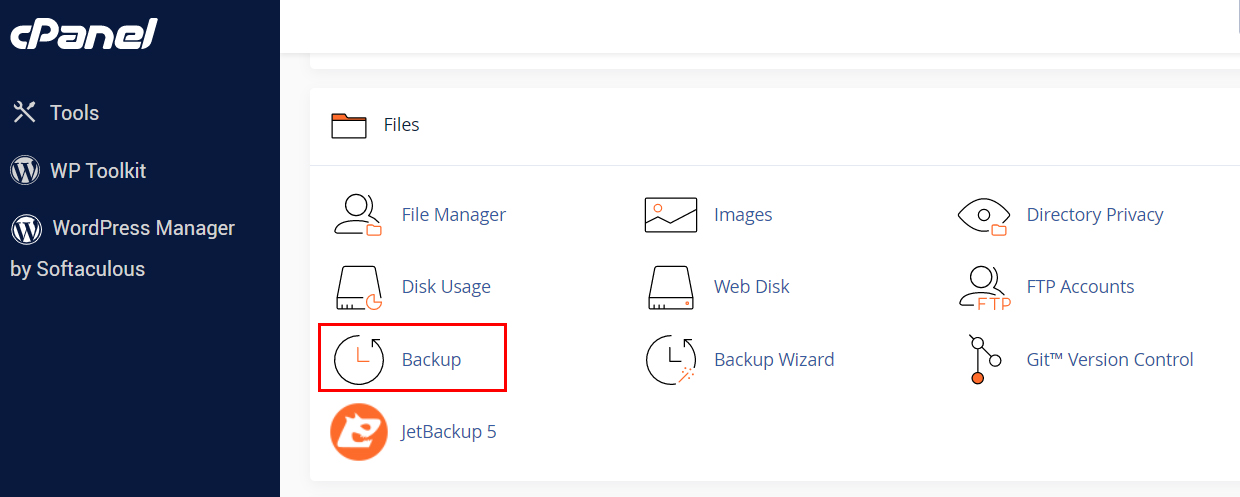
You can easily restore the database into the new cPanel by going to the “Backup” option. Then upload the backup file under the “Restore a MySQL Database Backup” section and click the Upload button.


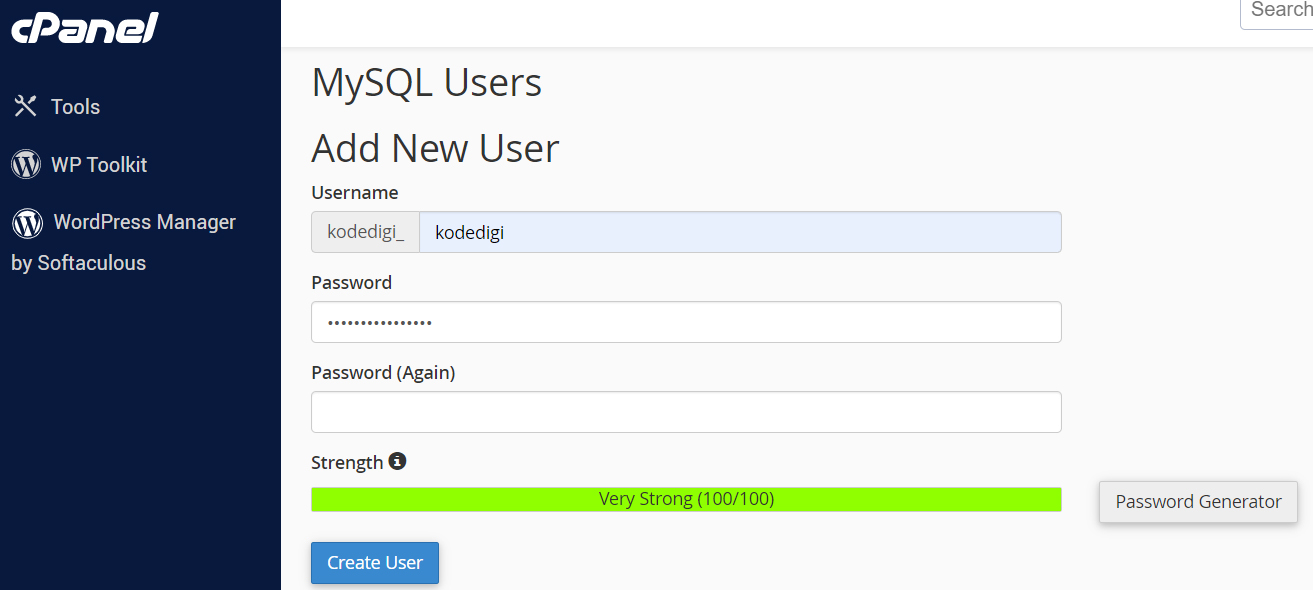
After that, you will need to create a database user in the new cPanel by going to “MySQL Databases”. Then, scroll down to the “MySQL Users” section, fill up and submit the “Add New User” form. You can refer to the wp-config.php file for the username and credentials. Lastly, scroll down to the “Add User To Database” section, select the created user name and the restored database name, and click the Add button.


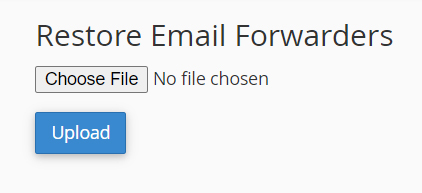
- Email ForwardersTo restore the Email Forwarders into the new cPanel, go to the “Backup” option and upload the file under section “Restore Email Forwarders” and click on the button “Upload”.


Update Website Configuration
Now that you have transferred your website files and database, you need to update your website configuration to point to the new server. This includes updating your domain name server (DNS) settings to point to the new server’s IP address, as well as updating any configuration files that reference your old server’s IP address.
Additionally, you need to update Wordpress’s wp-config.php file (e.g. /home/kodedigi/public_html/wp-config.php) with the restored database name and user credentials.
Test Your Site
Once you have updated your website configuration, you should test your site to ensure it works properly on the new server. You can do this by accessing your site using the new server’s IP address or domain name.
Upgrade Your Website Hosting in No Time
Migrating a site using cPanel is a relatively straightforward process. Following the steps outlined in this article ensures that your site is transferred safely and efficiently to its new home.
Kode Digital is an expert digital agency that specialises in a wide variety of digital services, including software design and website development. To learn more about what Kode has to offer, visit our website or read one of our other blogs.


